
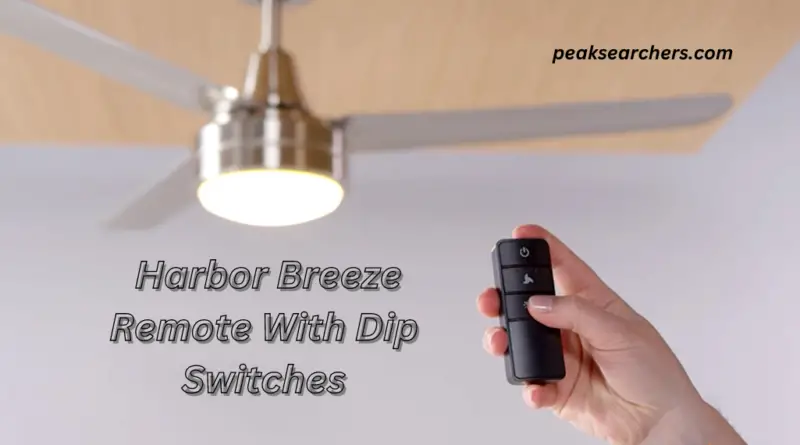
How To Program Harbor Breeze Remote With Dip Switches? Step By Step Guide
Programming a Harbor Breeze remote with dip switches is a relatively simple process that can be done in a few easy steps. The first step in programming your remote is to locate the dip switch panel on both the remote and the ceiling fan.
Once you have located these panels, it’s important to ensure that the dip switches are set to the same frequency on both devices. For more steps, Simply read the article below. I also faced this situation when I got my New Harbor Breeze fan.
It was not working at all so I decided to program it with the dip switches. Stay connected for all your queries.

Explaining the need to program Harbor Breeze remote with dip switches
The dip switches on your Harbor Breeze remote is essential for programming it with your ceiling fan. These switches allow the transmitter and receiver to communicate with each other. Ensuring that the remote can control your fan functions effectively. Without programming the remote using these dip switches, you may have difficulty in operating your ceiling fan.
Programming your Harbor Breeze remote with dip switches is simple and straightforward. All you need is to follow the step-by-step guide provided in the user manual or online resources. Once programmed, you can conveniently operate your ceiling fan from a distance without getting up from your seat.
In conclusion, programming a Harbor Breeze remote with dip switches is necessary for the optimal functionality of your ceiling fan. It allows for easy operation of all features of the fan from a distance and ensures that you can enjoy comfortable air circulation at any time without inconvenience.
Understanding Dip Switches
Dip switches are small toggle switches that allow us to set the configuration of a device. They are often found on electronic devices such as garage door openers, remote controls, and even some computer hardware. Dip switches are used to customize the way these devices work by allowing users to change various settings.
When programming a remote control for a ceiling fan, dip switches can be used to link it with the receiver installed in the fan. This is done so that the remote can communicate with the fan’s motor and turn it on or off.
To do this, you need to ensure that both sets of dip switches match up properly – one set on the remote control and another on the fan’s receiver.
It’s important to understand how dip switches work when programming your Harbor Breeze remote since they have different settings. Multiple devices using dip switch technology need unique combinations to ensure their compatibility with each other.
The process of setting up a Harbor Breeze Remote with Dip Switches may vary depending upon which model you have – refer to your user manual for specific instructions.
Explaining what dip switches are and how they work
Dip switches are small, sliding switches used to set the code for wireless devices. They are commonly found in remote controls and garage door openers. Each switch can be either on or off, allowing for a variety of combinations that create unique codes.
To program a device with dip switches, the user must ensure that both the transmitter (such as a remote) and receiver (such as a fan or garage door opener) have matching dip switch settings. This ensures that the signal sent by the transmitter is received by the correct receiver.
It is important to note that dip switches should be used carefully, as changing their position can alter the function of a device. It is recommended to consult the device’s manual before making any changes to its dip switch settings.
Preparing For Programming
Preparing for programming your Harbor Breeze remote with dip switches requires understanding the basic principles of programming.
Firstly, you need to understand the model and make of your remote and make sure it is compatible with the ceiling fan. Secondly, ensure that your fan’s power supply is turned on before starting the programming process.
Next, locate the dip switches on both the remote control and the ceiling fan receiver. These dip switches will be used to synchronize communication between both devices. It is important to make sure that all dip switches are in their correct positions as per instructions from manufacturer manuals.
Finally, test if your program was successful by pressing buttons on your remote control to see if they function correctly. If after several attempts of reprogramming or resetting either device does not work properly then it may be time for a replacement part or even a new device altogether.
Step-by-step guide on how to program the remote using dip switches
- Step 1: First, remove the battery cover and locate the dip switches on both the remote control and receiver.
- Step 2: Set the dip switches to match each other. The position of each switch determines a unique code that allows communication between your remote and ceiling fan.
- Step 3: Once you have set the dip switches, replace the battery cover on your remote control.
- Step 4: Then, turn off the power to your ceiling fan by switching off its circuit breaker or unplugging it from the outlet.
- Step 5: Locate the receiver for your Harbor Breeze ceiling fan. It is usually found near where it is mounted on your ceiling.
- Step 6: Remove its canopy or housing cover to access it.
- Step 7: Set its dip switches to match those in your remote control. Use a small screwdriver to adjust them accordingly.
- Step 8: Finally, replace any covers you removed earlier and restore power to both the fan and controller by turning on their circuit breakers or plugging them back into an outlet. Test whether they are communicating successfully by operating your fan using the remote control.
Testing The Remote
1. Once you have programmed the remote with dip switches, it is important to test it out to make sure that it is working correctly. The first thing you should do is turn on your ceiling fan and then use the remote to turn off the light. If this works, then your remote has been properly programmed.
2. Next, try turning on and off the fan itself using the remote. Make sure that all of the speeds work correctly and that there are no issues with turning it on or off.
3. You may also want to test any additional features that your remote may have, such as a timer or dimmer function. This will give you a better idea of how well your remote is functioning overall.
Overall, testing your Harbor Breeze remote with dip switches is an important step in ensuring that it has been properly programmed and will work correctly when you need it to. By following these simple steps, you can rest assured knowing that your ceiling fan will be easy to control from anywhere in the room using your new remote control device!
FAQ’s
Q: What are dip switches on a Harbor Breeze remote?
A: Dip switches are small, plastic toggles inside the battery compartment of the remote that control the frequency channel used to communicate with the fan. They allow for multiple fans to run in close proximity without interference.
Q: How many dip switches are there on a Harbor Breeze remote?
A: There are four dip switches on most Harbor Breeze remotes. However, some older models may have only two or three.
Q: How do I program my Harbor Breeze remote with dip switches?
A: First, ensure that your fan is turned off and that you have fresh batteries installed in your remote. Next, locate the four dip switches in the battery compartment of your remote and set them to match those inside your fan’s canopy receiver unit. Finally, test out your new settings by turning on your fan using the remote.
Also read: Fix Harbor Breeze Ceiling Fan Not Working – A Complete Solution
Conclusion
In conclusion, programming your Harbor Breeze remote with dip switches is a straightforward process that does not require any technical skills. The first step involves finding the dip switch settings on both the fan and remote control. Once you have located them, ensure that they are set to match each other to avoid interference.
Next, turn on the fan power source. Press and hold down the learn button on the back of your remote control until you hear a beep sound. Release it after hearing this sound. Then press one of the buttons on your remote to pair it with your ceiling fan.
Finally, test whether everything is working correctly by turning off your fan using your newly programmed remote control. If it works as expected, then congratulations! You have successfully programmed your Harbor Breeze Remote Control with Dip Switches!
