
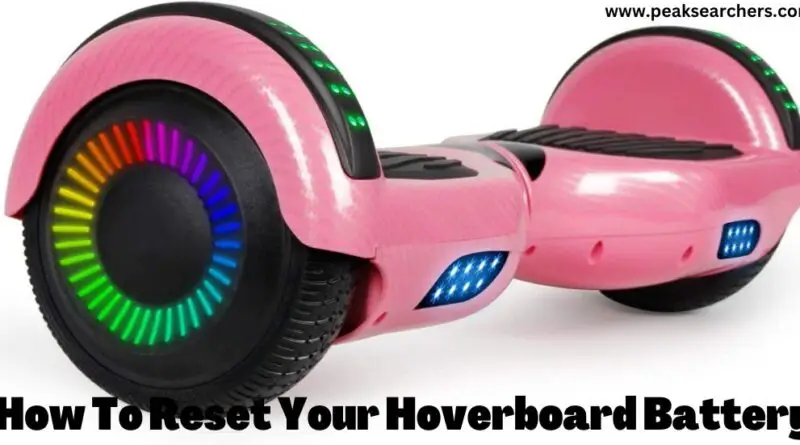
How To Reset Your Hoverboard Battery – An Ultimate Guide
If you’ve bought or received a new hoverboard, there’s a good chance it came with an included battery that was already charged up and ready to go out of the box. But, you may be worried to reset the battery.
But what happens when your battery dies? Do you have to buy another one? Is there an easy way to fix this problem without expensive replacement batteries? This blog will teach you how to reset your hoverboard battery so that it can be used again, saving you time and money!
I did not know how to reset my battery when I first got my hoverboard. But, one of my friends was an expert in the field. So, when I knew that the process was easy altogether so it was not a big chunk of an issue. By reading the article, you will come to know how easy it is to reset your hoverboard battery.
Check your Hoverboard completely
Hoverboards are one of the hottest gifts this season, but if you’re having trouble with yours, it may be time to reset it.
This is a very simple process that will only take a few minutes and can make all the difference in the performance of your hoverboard. Follow these tips to get started and make sure the problem does not persist:
- Connect your hoverboard to its charger so that it is plugged in properly. You may have to unscrew the charging port cover before plugging it into an outlet.
- Wait until there is no movement on the screen (sometimes referred to as lights out). This could take anywhere from 10-30 minutes depending on how full your battery was when you started charging it.
If your board won’t turn on
If your board won’t turn on, there is a series of steps you can take to try and get it going again. First, make sure that the battery is charged and plugged in. If this doesn’t work, try the following:
- Take out the battery and wait five minutes before putting it back in
- Unplug the charger from the board and plug it back in
- Check that the charger is plugged into an outlet as well as your board
- Try restarting your device by pressing and holding down one of the buttons for 5 seconds
Charge it for 24 hours
Make sure your hoverboard is off and unplugged before you start charging it. You can plug your board in with the battery all the way down or all the way up, but make sure that you don’t overcharge it by letting it charge for more than 24 hours.
Be patient and don’t try to use your board while it’s charging because this will cause the battery to become overheated, which could lead to a fire. If this happens, turn off your hoverboard right away and let it cool down before you continue charging.
Take off the cover and unscrew the screws on the battery
First, remove the screws that hold on to the battery cover. If your battery is small enough, you may be able to pop it out with a screwdriver.
The first thing you’ll notice is that there are two cables connecting to each other and one of them will have a red label. This cable connects the battery and the charger. The other cable has no label and this is where electricity flows from the power outlet to charge up your hoverboard.
The next step in resetting your hoverboard battery is to unplug the charger from the wall outlet. Do this so that you don’t accidentally electrocute yourself while disconnecting or reconnecting things later on.
Press the reset button in with a needle or pen tip
The first step is to remove the battery from the board. Place it on a flat surface and use a needle or pen tip to press and hold the reset button for 3 seconds.
After pressing the reset button, you’ll want to plug in your charger and turn it on. Let it charge for about 5-6 hours before trying again to turn on your hoverboard.
Leave it unplugged overnight and use it again the next day
- Unplug your hoverboard from the power outlet it is connected to. If you have a cordless hoverboard, make sure your battery is fully charged. After that, take it off of the charger for a full night without the use
- Plug in your hoverboard or put on your battery and wait for the power lights to turn green before using it again
- Charge your battery or plug in the cordless board. Do this to ensure that the board has enough power to run smoothly for a long period of time without turning off on its own
FAQ’s
Hoverboard battery replacement
The most common reason for your hoverboard to stop working is the battery. If you have a broken or damaged battery, it will not be able to produce enough power and your board will shut off. Luckily, there are a few things that you can do to reset your hoverboard battery so that it starts working again.
If you are getting a power error message and the board won’t turn on, then replace your battery with a new one. They’re inexpensive and easy to install yourself!
If you’re experiencing intermittent issues with the power level of your board, then resetting the battery may be all that’s needed. This can be done by turning off the board by pressing. After that holding the power button for six seconds until it turns off completely.
How to reset a hoverboard?
- Connect the UL Charger to the hoverboard and plug it into a wall outlet. The battery indicator light will turn RED when charging. When the battery indicator light turns GREEN, this means that the hoverboard is fully charged. You may disconnect the UL Charger from the wall outlet at this time
- Connect your hoverboard to a UL-certified power source. After that charge for 8 hours or overnight to give it a full charge before you use it for the first time
- If your hoverboard does not charge, make sure that it is connected to a UL-certified power source. Then, make sure that both ends of your UL charger are plugged in securely. Some plugs have more than one end so make sure you are connecting all parts of your charger together!
Where is the reset button on a hoverboard?
The reset button is located at the back of your hoverboard. It will be a small, circular button with a sticker next to it that says RESET.
The best way to find it is to feel the groove on the rear of the board and see if you can feel a button. If you do, then congratulations! You have found your reset button. The downside is that this usually requires getting off of your hoverboard or at least leaning over it, which may not be possible for everyone.
Also read: How To Reset Your Hoverboard – A Detailed Guide
Conclusion
In order to reset the battery on your hoverboard, it is important that you first remove the batteries from the device.
Press the power button for at least six seconds to turn off your device. After that press and hold both sides of the battery release button for about 30 seconds.
Next, use a Phillips screwdriver to loosen and remove the four screws in each corner of the board. Lift up on one side of the board so that you can access all four screws in each corner, and then replace them when finished.
Once loosened, you will be able to lift up one side of your hoverboard enough to get both hands inside.
