
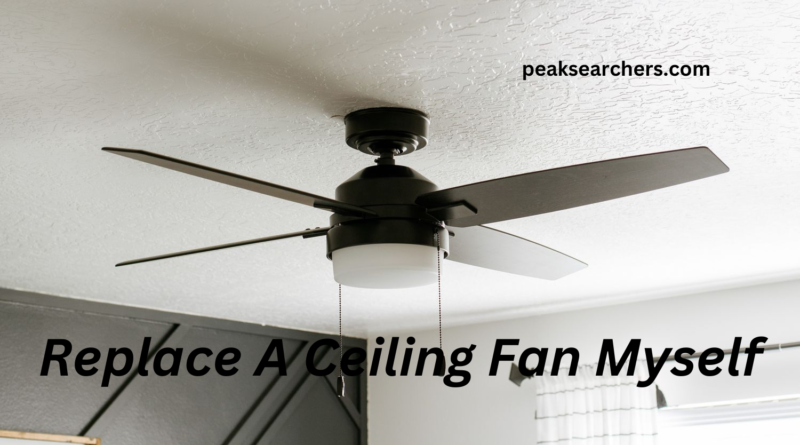
Can I Replace A Ceiling Fan Myself? A Step by Step Guide
Ceiling fans are a fundamental piece of any family, as they give an agreeable breeze during sweltering late spring days and can assist with decreasing your power bill. But, can you replace your ceiling fan yourself?
In any case, following quite a while of purpose, your ceiling fan could begin breaking down or basically quit working out and out, leaving you contemplating whether you can supplant it yourself. In this article, we will direct you through the most common way of replacing a ceiling fan, so you can do it without anyone’s help and without the need for an expert.
Can I Replace A Ceiling Fan Myself? The Answer Is Yes!
Indeed, you can supplant a ceiling fan yourself! Nonetheless, it is critical to take note that this cycle requires a touch of electrical skill and a few essential instruments.
On the off chance that you have an uncertain outlook on your capacities or need experience working with electrical machines, it very well may be ideal to bring in an expert to deal with the gig for you. Be that as it may, on the off chance that you’re equipped in every meaningful way for the situation, we should get everything rolling!
Step-by-step solution
Prior to beginning the most common way of supplanting a Ceiling fan, you should set up a couple of things:
Devices you’ll require:
- Screwdriver (level and Phillips)
- Pincers
- Wire stripper
- Voltage locator
- Stepping stool
- ceiling fan pack (ensure it incorporates every important part)
Step 1: Turn Off The Power
Before doing any electrical work, make a point to switch off the capacity to the room where you will supplant the roof fan.
This should be possible by switching off the comparing electrical switch or eliminating the breaker from the wire box. After following this step, move to step 2
Step 2: Eliminate The Old ceiling fan
To remove the old ceiling fan, start by turning off the power to the room where the fan is located. This can be done by turning off the corresponding circuit breaker or removing the fuse from the fuse box. Next, remove any screws or bolts that are holding the fan in place.
Be sure to have a partner hold the fan while you remove the last screw or bolt to prevent it from falling. Once you have removed all screws or bolts, gently lower the fan and disconnect the wires. Use a voltage detector to ensure that no electrical current is present before you begin disconnecting wires.
Take note of the wiring connections before disconnecting them to make it easier to reconnect the new fan. Once all wires have been disconnected, remove the fan from the ceiling mount and set it aside.
Step 3: Install The Ceiling Fan Mounting Bracket
Now that the old fan has been removed, it’s time to install the new ceiling fan. You can start by attaching the mounting bracket to the ceiling box and then move further. Depending on the type of bracket included with your new fan, there may be different steps involved in this process. Follow the manufacturer’s instructions carefully to ensure that the bracket is securely fastened to the ceiling.
Once the mounting bracket is in place, you can begin attaching the fan’s downrod. The downrod is the long, cylindrical piece that connects the fan motor to the mounting bracket. Slide the downrod through the canopy and secure it to the motor with the provided screws.
Next, attach the fan blades to the motor. Most fans will have blades that simply slide into place and are secured with screws. Make sure that each blade is properly aligned and tightened to prevent wobbling or noise.
Once the fan blades are attached, it’s time to install the fan’s light fixture (if applicable). Follow the manufacturer’s instructions carefully to ensure that the fixture is properly secured to the fan motor.
Finally, attach any pull chains or remote controls to the fan motor. Make sure that they are properly connected and functioning before turning the power back on to the room.
Step 4: Connect The Ceiling Fan Wires
Presently it is the right time to associate the Ceiling fan wires. You should interface the wires from the mounting section to the comparing wires on the Ceiling fan. Make a point to adhere to the producer’s directions cautiously and use wire connectors to get the associations.
After completing this step successfully, move to the next step.
Step 5: Attach The Blades And Light Fixture (if applicable)
With the fan motor securely attached to the ceiling, it’s time to attach the blades and light fixture (if your fan comes with one). Start by locating the blade brackets that are included with your fan. These are usually small metal pieces that attach to the fan motor and hold the blades in place.
Attach the blade brackets to the fan motor according to the manufacturer’s instructions. Once they are in place, slide the blades into the brackets and secure them with screws. Make sure that each blade is properly aligned and tightened to prevent wobbling or noise.
If your fan comes with a light fixture, attach it to the fan motor using the hardware provided. Make sure that the fixture is securely attached and aligned with the fan blades.
Make sure that when you have done everything, turn the power back on to the room and then test your new ceiling fan. Test the fan at different speeds and make sure that the light fixture (if applicable) is functioning properly. If you notice any issues, turn the power back off and double-check all of your connections and attachments.
Step 6: Turn On The Power And Test The Fan
Prior to wrapping up, walk out on and test the roof fan to guarantee it is working appropriately. In the case of everything looking great, you’re finished!
Simply enjoy the cool breeze coming out of the fan and appreciate us in the comments section. Do let us know if you got something unique out of this article.
FAQs:
Q. Can I replace a ceiling fan without a mounting bracket?
A. No, it is critical to switch off the capacity to the room where you will supplant the roof fan. The inability to do so can bring about serious injury or even passing.
Q. Do I really want any unique devices to supplant a roof fan?
A. You will require a couple of essential instruments, like a screwdriver, forceps, wire stripper, voltage identifier, stepping stool, and the roof fan unit.
Q. How long does generally it take to replace a ceiling fan?
A. The time it takes to supplant a roof fan can change contingent upon your degree of involvement and the intricacy of the establishment. Overall, it can take somewhere in the range of 1-2 hours to finish the whole cycle.
Q. Can I replace a ceiling fan without a mounting bracket?
A. No, the mounting section is a fundamental part of a roof fan establishment. Without it, the fan won’t be safely affixed to the roof.
Q. Do I have to employ an expert to replace a roof fan?
A. While it is feasible to supplant a roof fan yourself, having some essential electrical information and the right tools is significant. On the off chance that you have an uncertain outlook on your capacities or need experience working with electrical machines, it very well may be ideal to bring in an expert. He will help you better.
Also read: The Ultimate Guide: How to Replace a Ceiling Fan Light Bulb with Dome
Conclusion
All in all, replacing a ceiling fan yourself is most certainly possible with the right devices, electrical information, and persistence. By following the step-by-step guide we have given, you ought to have the option to supplant your roof fan securely and successfully without the requirement of an expert.
Nonetheless, on the off chance that you feel dubious or need insight, make it a point to in an expert to deal with the gig for you.
