How To Fix Red Light On PS4 Controller? A Complete Guide
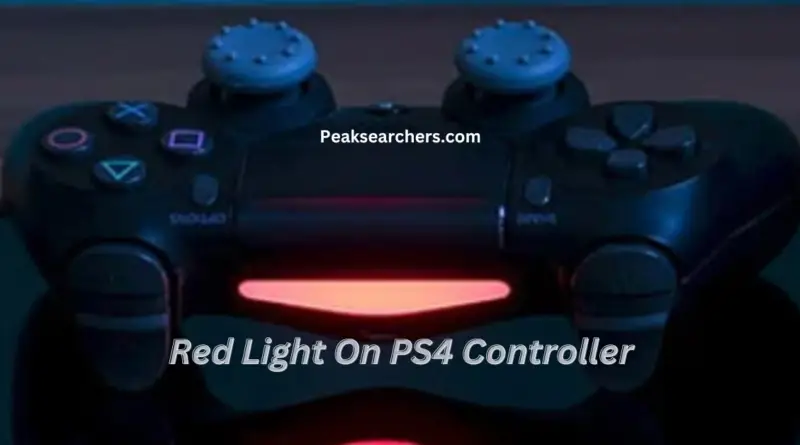
Are you facing a red light problem on your PS4 controller? Don’t worry; we’ve got you covered. This informative guide provides a complete step-by-step process to help you troubleshoot and fix the red light issue on your PS4 controller.
This issue is personally faced by me. I did not know how to solve it because I was not an expert at that time. Then, one of my friends guided me due to which I was able to solve the issue. By following these instructions, you can potentially resolve the problem and get your controller back in working order.

Charging the Controller
If your PS4 controller has a red light, it might be due to a low battery. Follow these steps to ensure the controller is adequately charged:
- Connect the controller to your PS4 console using a USB cable.
- Ensure the USB cable is securely plugged into both the controller and the console.
- Allow the controller to charge for at least 30 minutes to ensure it has sufficient power.
- Check if the red light turns off after charging. If it does, the problem may have been a low battery.
Resetting the Controller
If charging the controller didn’t resolve the red light issue, you can try resetting the controller. Here’s how:
- There is a small reset button on the back of the controller that you can easily see.
- You can use a paperclip or a similar object to press and hold the reset button for a few seconds.
- Release the button and wait for the controller to reset.
- Connect the controller to the PS4 console using the USB cable and check if the red light issue persists.
Checking the USB Cable Sometimes
A faulty USB cable can cause the red light problem. You can follow these steps to check and replace the USB cable:
- Inspect the USB cable for any signs of damage, such as frayed or bent connectors.
- Try using a different USB cable to connect the controller to the PS4 console.
- Ensure the USB cable is fully inserted into both the controller and the console.
- Test if the red light problem is resolved after using a different USB cable.
Pairing the Controller
If the previous steps didn’t resolve the issue, you can try pairing the controller with the PS4 console again:
- On your PS4 console, navigate to the “Settings” menu.
- Select “Devices,” then “Bluetooth Devices.”
- Remove the controller from the list of paired devices, if it’s listed.
- Press and hold the PlayStation button and the Share button on the controller simultaneously until the light bar starts flashing.
- In the Bluetooth Devices menu, select “Add New Device” and wait for the console to detect the controller.
- Once the controller appears on the screen, select it to pair it with the PS4 console.
- Test if the red light issue persists after pairing the controller.
Updating the Controller Firmware
Updating the controller firmware can sometimes resolve software-related issues causing the red light problem. You need to follow these steps to update the firmware:
- First of all, you need to connect the controller to the PS4 console using a USB cable.
- Make sure that the console is connected to the internet.
- On the PS4 home screen, go to the “Settings” menu.
- Select “Devices,” then “Controllers.”
- Choose “Update Firmware” and follow the on-screen instructions to update the controller’s firmware.
- After the update is complete, disconnect the controller from the console and check if the red light problem is resolved.
Contacting Support
If none of the above steps resolve the red light issue, it’s advisable to contact PlayStation support for further assistance:
- Visit the official PlayStation support website or contact PlayStation customer support.
- Then, you need to provide them with the details of the issue and the steps you have already taken.
FAQ’s
Q1: Why is the red light on my PS4 controller flashing?
The red light on your PS4 controller typically flashes when it’s low on battery or when it’s in pairing mode. It can also indicate an issue with the controller’s connection to the console.
Q2: How can I fix a PS4 controller with a red light?
Here are a few steps you can try to fix the red light on your PS4 controller:
- Charge the controller: Connect your controller to the PlayStation 4 console using a USB cable. Allow it to charge for a while and check if the red light turns off once it has sufficient battery.
- Reset the controller: There will be a small hole on the back of the controller near the L2 button that works as a reset button. Use a paperclip or a similar object to press the reset button inside the hole. After resetting, connect the controller to the console via USB and check if the red light issue is resolved.
- Re-pair the controller: Connect the controller to the console using a USB cable. Once connected, press the PS button on the controller to pair it with the console. This can help establish a stable connection and resolve the red light issue.
- Check the USB cable and port: Make sure the USB cable you’re using to connect the controller is not damaged. Try using a different cable or a different USB port on the console to eliminate any potential issues.
Q3: What if the red light on my PS4 controller continues to flash after trying the above steps?
If the red light on your PS4 controller continues to flash, there may be a hardware issue or a more complex problem. In such cases, it is advisable to contact Sony PlayStation support or visit an authorized service center for further assistance.
Q4: Are there any other troubleshooting steps I can try?
Yes, here are a few additional troubleshooting steps you can attempt:
- Update the controller firmware: Connect the controller to the PlayStation 4 console and ensure it’s fully charged. Then, go to the Settings menu on your PS4, select “Devices,” followed by “Controllers.” Choose “Update Firmware” and follow the on-screen instructions to update the controller’s firmware if an update is available.
- Clean the controller: Dust and debris can sometimes interfere with the controller’s functionality. Use a soft cloth or compressed air to clean the buttons and crevices of the controller. Ensure the controller is disconnected from the console while cleaning.
- Test the controller on a different console: If possible, try connecting the controller to a different PlayStation 4 console to see if the issue persists. This can help determine if the problem lies with the controller or the console.
Also read: How to Fix Input Lag on PS4? A DIY Solution
Conclusion
By following the comprehensive guide above, you can effectively troubleshoot and fix the red light problem on your PS4 controller. Remember to follow each step carefully and be patient throughout the process.
In case the issue persists, contacting PlayStation support will ensure you receive the necessary help to resolve the problem. Enjoy uninterrupted gaming with your PS4 controller!


