
How to Reset an RV Air Conditioner: A Comprehensive Guide
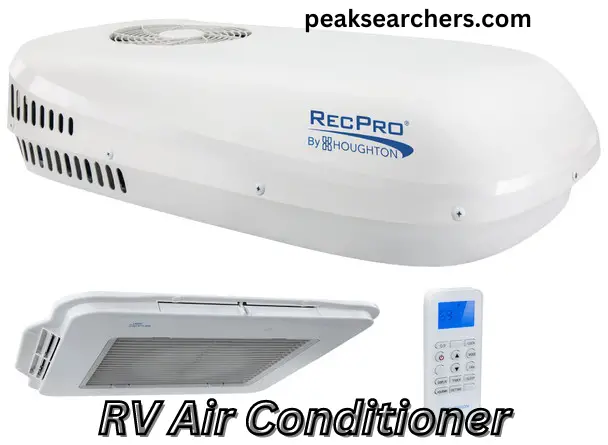
An RV air conditioner is an essential component of any RV. It keeps you cool and comfortable during the hot summer months. However, sometimes you may encounter issues with your RV air conditioner, such as it not turning on or not cooling properly or how to reset an RV air conditioner.
One of the first things you can try to resolve these issues is to reset your RV air conditioner. But how do you reset an RV air conditioner?
In this article, we will provide you with a step-by-step guide to resetting your RV air conditioner.
Step 1: Turn Off the Power Supply
The first step in resetting your RV air conditioner is to turn off the power supply. You can do this by locating the circuit breaker box and switching off the circuit breaker that controls your RV air conditioner. This will ensure that there is no electricity flowing to the unit and that it is safe to work on.
Step 2: Locate the Reset Button
Most RV air conditioners have a reset button on the outside unit. It is typically located near the compressor or on the control panel. If you can’t find the reset button, consult your RV owner’s manual for guidance.
Step 3: Press the Reset Button
Press and hold the reset button for about three seconds once you have located it, press and hold it for about three seconds. You should hear a clicking sound, which indicates that the button has been reset. Wait for a few minutes after releasing the button.
Step 4: Turn On the Power Supply
After waiting for a few minutes, turn on the power supply to the RV air conditioner by flipping the circuit breaker switch back on. The air conditioner should start up and begin cooling your RV.
Step 5: Monitor the Unit
Monitor your RV air conditioner for a few hours to ensure that it is working correctly. If you notice any issues, such as the unit not turning on, blowing warm air, or making strange noises, you may need to call a professional for further assistance.
Additional Steps
Regular Maintenance
Regular maintenance of your RV air conditioner can prevent malfunctions and extend its lifespan. It is recommended to clean or replace the air filter at least once a month, especially during periods of heavy use. You should also have a professional inspect and service your air conditioner annually to ensure that it is working correctly.
Proper Use and Storage
Proper use and storage of your RV air conditioner can also prevent malfunctions. Avoid running the air conditioner at high temperatures or for extended periods, as this can put a strain on the unit.
When storing your RV, make sure to cover the air conditioner to protect it from the elements and prevent debris from entering the unit.
Upgrade to a Newer Model If your RV air conditioner is old or frequently malfunctions, it may be time to upgrade to a newer model.
Newer models are often more energy-efficient, and quieter, and come with additional features such as remote control and programmable thermostats.
Also Read: How to Stop Dripping Noise from Air Conditioners? A DIY Guide
FAQ’s
Where is the AC reset button?
The location of the AC reset button varies depending on the make and model of your unit. Check your manual or contact the manufacturer for assistance.
You may not need to press a physical button – resetting the unit by turning it off and on or resetting the circuit breaker can work. If you’re not comfortable resetting the unit yourself, seek professional assistance.
How do I reset my Dometic RV air conditioner thermostat?
- Turn off your air conditioning unit by flipping the switch or turning off the circuit breaker that powers it.
- Locate the “Reset” button on the thermostat. The exact location may vary depending on the model of your thermostat.
- Press and hold the “Reset” button for three seconds.
- Release the button and turn your air conditioning unit back on.
Once your air conditioning unit is back on, check to ensure that the thermostat is functioning correctly. If you continue to experience issues, consult your Dometic RV air conditioner manual or contact the manufacturer for assistance.
Why is my RV AC not turning on?
There could be several reasons why your RV AC is not turning on. Here are a few things you can check:
- Power source: Make sure your RV is properly plugged into a power source or that your generator is turned on and functioning properly. Check the circuit breaker to see if it has tripped or blown.
- Thermostat: Check the thermostat to ensure it is set to cool and that the temperature is set low enough to trigger the AC unit to turn on.
- Dirty air filter: If the air filter is dirty, it can prevent the AC unit from turning on. Check the filter and replace it if necessary.
- Low refrigerant levels: If the refrigerant levels are low, the AC unit may not turn on. A professional technician can diagnose and fix this issue.
- Faulty capacitor or compressor: If the AC unit still doesn’t turn on after checking the above, it could be a problem with the capacitor or compressor. These components require a professional technician to diagnose and repair.
If you’ve checked all of these things and the AC unit still isn’t turning on, it’s best to contact a professional RV technician to diagnose and repair the issue.
Dometic rv air conditioner reset button
If your Dometic RV air conditioner has a reset button, here are the steps to follow to reset it:
- Turn off the air conditioner and unplug it from the power source or turn off the generator.
- Locate the reset button on the air conditioner. It is usually located near the electrical control box.
- Press the reset button and hold it down for 3-5 seconds.
- Release the reset button.
- Plug the air conditioner back in or turn the generator back on.
- Turn on the air conditioner and see if it starts running.
If the air conditioner still doesn’t turn on after resetting it, there may be a more serious problem that requires professional assistance. In that case, it’s best to contact a qualified RV technician to diagnose and fix the issue.
How to reset Coleman Mach air conditioner
- Turn off the air conditioner and unplug it from the power source or turn off the generator.
- Locate the thermostat and remove the cover.
- Use a small screwdriver to gently press the reset button located on the thermostat sub-base.
- Hold the reset button down for 3-5 seconds, then release it.
- Put the thermostat cover back on.
- Plug the air conditioner back in or turn the generator back on.
- Turn on the air conditioner and see if it starts running.
If the air conditioner still doesn’t turn on after resetting it, there may be a more serious problem that requires professional assistance. In that case, it’s best to contact a qualified RV technician to diagnose and fix the issue.
Also Read: Understanding the Role of Capacitors in Air Conditioners. A Comprehensive Guide
Conclusion
Resetting your RV air conditioner is a simple process that can save you time and money. By following these steps, you can quickly get your RV air conditioner back up and running and enjoy cool air during your travels. Remember to always prioritize safety when working on your RV and consult a professional if you are unsure about any aspect of the resetting process.
