
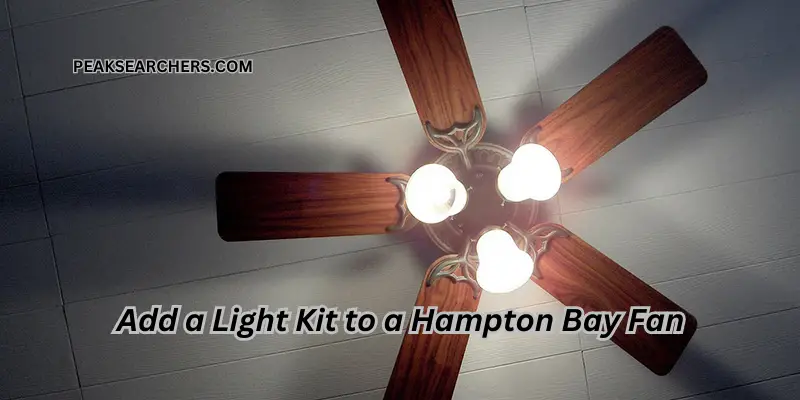
How to Add a Light Kit to a Hampton Bay Fan? A Comprehensive Guide
Welcome to our comprehensive guide on adding a light kit to your Hampton Bay fan. At [Your Website Name], we understand the importance of having a well-lit room along with the comfort provided by a ceiling fan.
By following the step-by-step instructions below, you’ll be able to successfully install a light kit on your Hampton Bay fan, enhancing both its functionality and aesthetic appeal.
Requirements
Before we dive into the installation process, let’s gather the necessary tools and materials you’ll need for this project:
- A light kit compatible with your Hampton Bay fan model
- Screwdriver
- Wire connectors
- Wire cutters
- Wire strippers
- Ladder or step stool (if necessary)
- Electrical tape
- Safety glasses
- Non-contact voltage tester (optional but recommended)
Preparation
- Start by turning off the power to the fan at the circuit breaker to ensure your safety throughout the installation process.
- Locate the mounting plate on the bottom of your Hampton Bay fan where the light kit will be attached.
- Remove any existing parts or covers that may be blocking access to the mounting plate, carefully following the instructions provided with your fan.
Wiring
- Identify the wires coming out of the ceiling and those extending from the fan. Typically, there will be a black (hot), white (neutral), and green or copper (ground) wire.
- Consult the wiring diagram included with your light kit to ensure a proper connection with your specific Hampton Bay fan model.
- Carefully connect the corresponding wires from the light kit to the corresponding wires in the fan, using wire connectors and following the color coding or labeling provided.
- Once the connections are secure, use electrical tape to cover the wire connectors for added safety.
Attaching the Light Kit
- Align the light kit with the mounting plate on the bottom of the fan, ensuring a snug fit.
- Secure the light kit in place using the provided screws, making sure it is firmly attached.
- Double-check all connections and ensure there are no loose wires or parts that could cause any issues later on.
Powering Up
- Turn the power back on at the circuit breaker.
- Test the light kit by flipping the fan’s wall switch or using the remote control, depending on your fan’s configuration.
- If the light does not turn on, double-check the wiring connections and ensure that the power is properly restored.
Also Read: How to Reset an Air Conditioner After a Power Outage? Step By Step Guide
FAQ’s
Can I add a light kit to any Hampton Bay fan model?
Yes, most Hampton Bay fan models are designed to be compatible with light kits. However, it is essential to check the manufacturer’s specifications or consult the user manual to ensure compatibility.
Can I use any light kit with my Hampton Bay fan?
It is recommended to use a light kit specifically designed for your Hampton Bay fan model. This ensures proper fitment and compatibility.
Can I install a dimmable light kit?
Yes, many light kits are dimmable. Ensure that your Hampton Bay fan model supports dimming functionality and choose a compatible dimmable light kit.
Can I install the light kit without removing the fan from the ceiling?
It is generally easier to install the light kit with the fan removed from the ceiling. However, if you have limited space or prefer not to remove the fan, you may be able to install the light kit while the fan is still attached. Keep in mind that this may require more careful maneuvering and may be more challenging.
Are there any safety precautions I should take during the installation?
Yes, safety is paramount when working with electrical components. Remember to turn off the power supply to the fan before beginning any work. Additionally, wearing safety glasses is recommended to protect your eyes from any debris or accidental contact. If you’re unsure about any step of the installation process, it’s always best to consult a professional electrician.
Can you change the ceiling fan to the ceiling light?
To change a ceiling fan to a ceiling light, follow these steps:
- Turn off the power at the circuit breaker.
- Remove the fan blades and motor.
- Disconnect the wiring.
- Take off the ceiling fan bracket.
- Install the ceiling light bracket.
- Connect the wiring for the light fixture.
- Attach the light fixture to the bracket.
- Install light bulbs and test.
If unsure or inexperienced with electrical work, consult a professional electrician for assistance.
How do I know if my light fixture can support a ceiling fan?
To determine if your light fixture can support a ceiling fan, consider the following factors:
- Weight capacity: Check the manufacturer’s specifications for your light fixture to determine its maximum weight capacity. Ceiling fans are generally heavier than light fixtures, so ensure that the fixture can support the weight of the fan, including its blades and motor.
- Mounting system: Confirm if your light fixture has a sturdy and secure mounting system. Ceiling fans require a robust support structure due to their rotational motion and vibrations. Light fixtures that are designed solely for decorative purposes may not have the necessary structural support for a fan.
- Electrical requirements: Verify that your electrical wiring and connections are compatible with a ceiling fan. Fans typically require a dedicated circuit with appropriate amperage and wiring capable of handling the fan’s power consumption.
Also Read: How to Reset an Air Conditioner After a Power Outage? Step By Step Guide
Conclusion
Congratulations! You have successfully added a light kit to your Hampton Bay fan. Now, you can enjoy the benefits of both efficient air circulation and adequate illumination in your living space.
Remember to refer to the specific instructions provided with your fan and light kit, as different models may have slight variations in the installation process.
